
Step
By Step
Use molding plaster (a.k.a casting plaster). Do not use Hydracal. It won't work with the techniques described. Build the rocks in place before doing the hard-shell (or other non-rock scenery).

|
Step
By Step
Use molding plaster (a.k.a casting plaster). Do not use Hydracal. It won't work with the techniques described. Build the rocks in place before doing the hard-shell (or other non-rock scenery). |
|
 |
Support rock face on strips of cardboard stapled or glued in place. Break up the castings. Trim to fit using an old pair of side cutters. |
 |
 |
 |
 |
| Use stainless steel or plastic tools. Plaster and dye are corrosive and will soon rust other metals. |
Rearrange
the pieces for variety.
|
Fill
in gaps.
|
 |
Extend features, such as crevices, between previously separate pieces. |  |
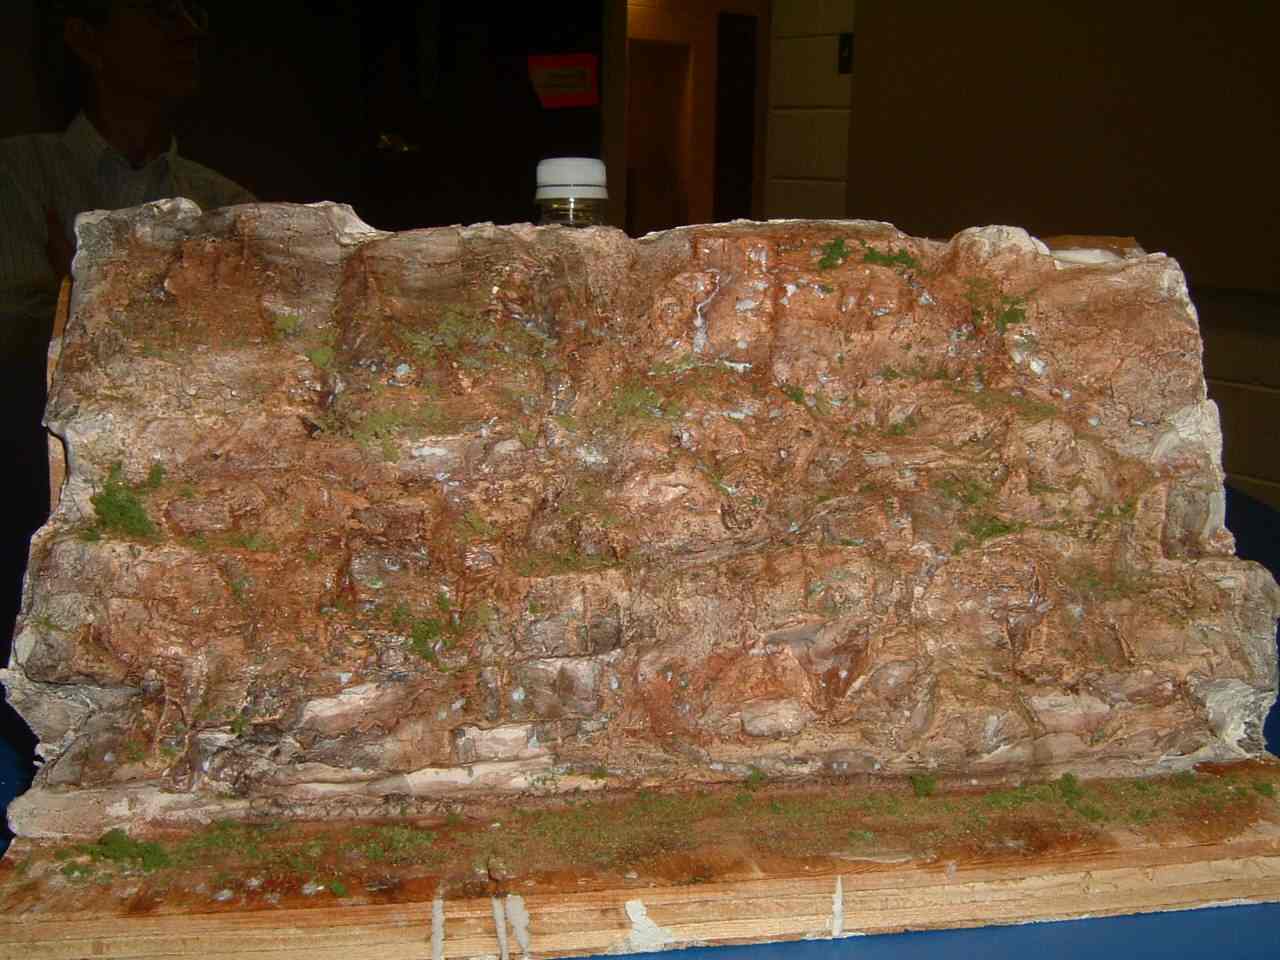
Add man-made features, such as this stone wall. Trowel on damp plaster; carve stones with pick. |
 |
 |
Stipple
the
rock surface using a stiff
short bristle brush. Let plaster dry 2 weeks before next step. |
 |
Color the scene black using powder tempera paint reconstituted in water. Buy paint at art supply store. Diluted India ink may also be used. These colors should not be affected by bleach. Use Rit dye to color the rocks. Use a brown or gray shade. Be sure to protect track; the salt in Rit will damage track as will the bleach in the next step. |
 |
Lightly brush
with bleach. Don't
press in. You want the black to show as shadow. The bleach and dye
neutralize in about 10 minutes. Apply more bleach if desired.
|
||
| Home | Top |
 |
Add
highlights using dry tempera (orange and
black) on damp casting; apply by stippling with short bristle brush. To add grass, spray on matte medium or dilute white glue, apply ground foam from above. Similarly, apply bushes using coarse foam. |
 |
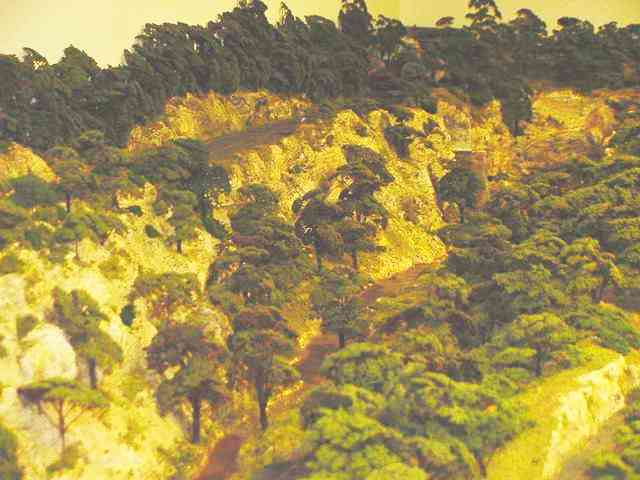
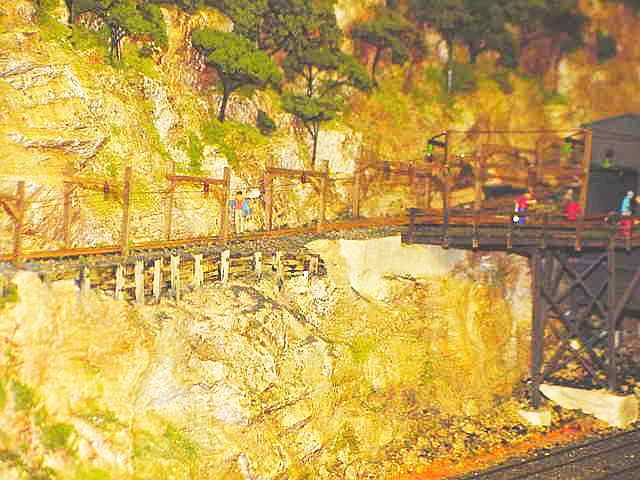
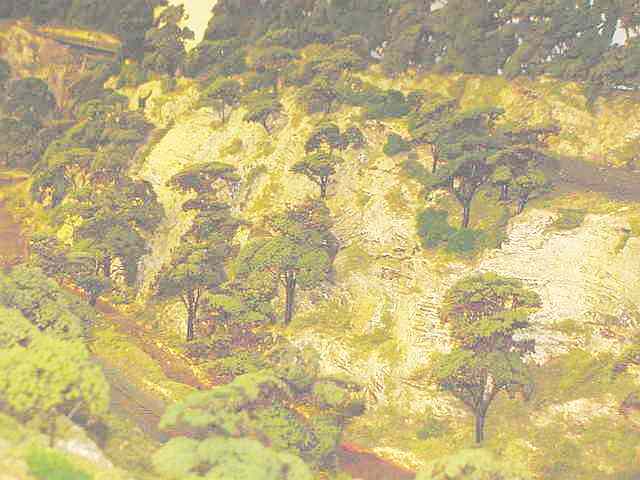
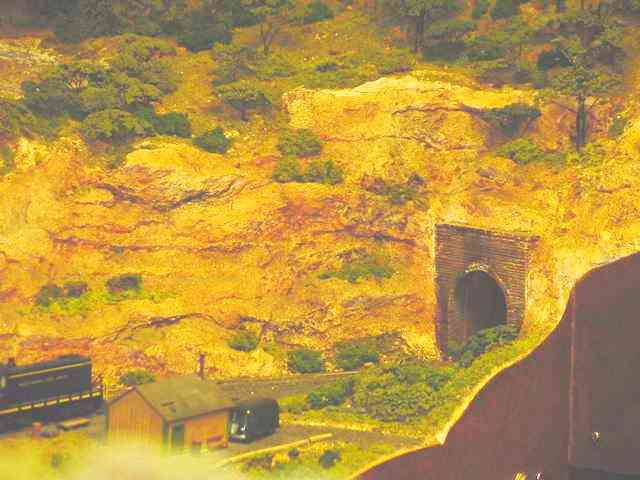
| The final result: | ||
 |
|
| Pictures from the layout. Click for enlargement. | ||
 |
 |
 |
 |
 |
 |
| Return to top | |